5 Tips for Teaching & Reviewing Survival Signs & Symbols
Posted by Christina Reville on Feb 26th 2020
Look around you. Everywhere you look you see a sign or a symbol indicating something. Special signs, symbols, and directions are encountered in every area of our lives. They provide us with information and tell us what we can and cannot do. Knowing what they mean is vital. Knowing them is even more essential for students who are trying to expand their knowledge outside the classroom into the “real world.”
Getting Started
First things first, you’re going to need some pictures of the signs and symbols you want to teach and reinforce with your students. Whether it’s a walking field trip with your students, or on your own time, go out and snap some photos of the signs in your neighborhood, at the movie theater, and around the school. Save and organize them so that you can display the pictures on your classroom’s whiteboard, your iPad, or print and laminate them.
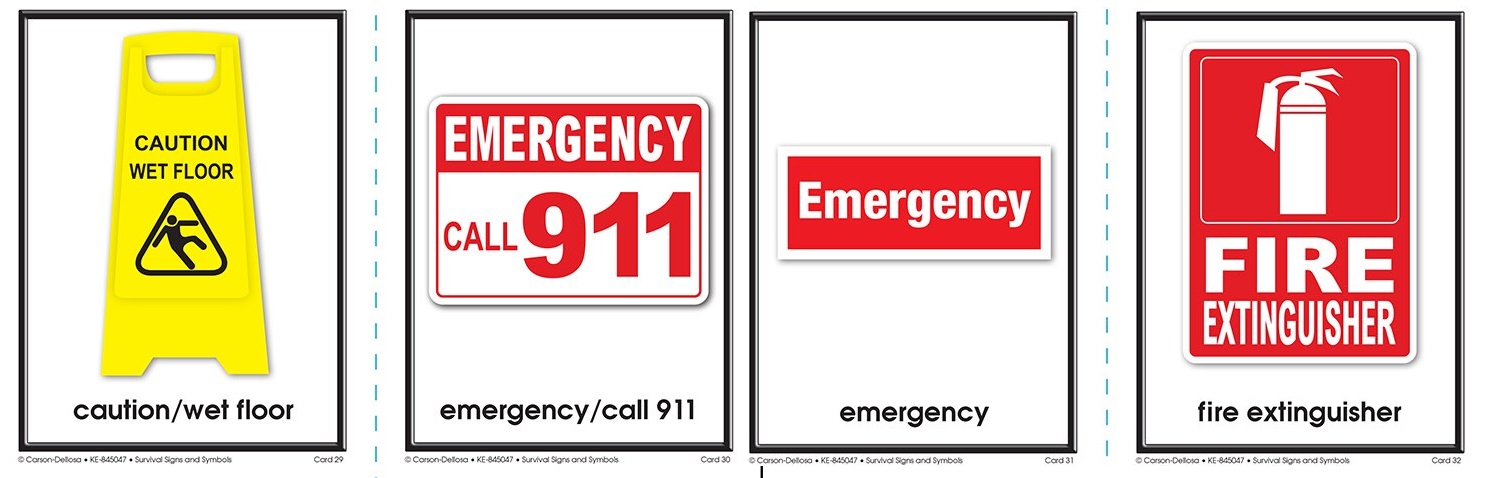
If you are working with students who may be easily distracted by the other elements in a real-world photo, try using Survival Signs & Symbols Flash Cards. This flash card set offers 94 different survival signs. Each card features a stand-alone sign displayed on the front with a simple definition of the sign on the back. These flash cards are a great way to review the signs and symbols that students will encounter in their daily lives with minimal distraction. As students become familiar with the signs, you can introduce the “real-world” photos you’ve taken.
Categorize
Categorizing is a very important skill that helps with memory, problem solving, and organization. Depending on your students’ ability level, you may ask them to categorize the signs into more complex categories like “warning” or “transportation” signs. However some students may struggle with categorizing and will need more systematic instruction.
For these students, help them categorize the signs by similarities such as color or shape. Find all of the triangle signs. Find all of the yellow signs. For example, you’ll notice that brown signs all belong to the same category. If students can recognize these patterns, this can help them learn and remember the meanings of each sign.
Another way to help your student categorize would be by using situations that they can relate to. Start by displaying about three to eight signs. Ask students to choose the signs that would be most helpful in the below situations.
- If you were sick or hurt?
- Signs: first aid kit, ambulance, hospital, fire department
- If you need to use the bathroom
- Signs: restroom, men’s room, women’s room
- If you are riding your bike?
- bike lane, bicycles prohibited, cross walk, stop sign, no trespassing
- If you are entering or leaving a building?
- Signs: push, pull, exit, open, closed, food prohibited
Riddle Clues
As students become more familiar with the signs, playing riddle games will be a fun way to reinforce what they know. Make a riddle for each sign and try to get students to guess the sign based on the clues in your riddle. For example: You can find me on a street corner. I am red. I am shaped like an octagon. What sign am I? As students become proficient at playing the riddle game, ask them to make their own riddles to share with a partner.
Story Time
Tell a story to get your students thinking about how they may encounter the signs in the real world. My friend and I were hiking in the woods. We brought a lunch to eat. We wanted to find a place where we could stop to eat. We came across a brown sign. The sign had a white picnic table on it… As you tell the story show a picture of the sign so that students can better connect to the story. Challenge students to write or tell a story of their own that includes one or two signs.
Photo Shoot
When students are ready, send them out of the classroom with a partner, a parent, or yourself to experience the signs in the real world. Have students document their experiences through pictures.
Assign each student one sign. Have students take pictures of their sign to share. You can ask students to share their pictures in a slide show for the class. Or students can post their pictures on your class’ Facebook page or even on Twitter or Instagram using your class’ hashtag (example: #MrsSmithsRm120). Students may even have fun making a Vine video of their sign being used. They could record people waiting for a bus in front of the Bus Stop sign or a car stopping at a Stop sign.
No matter how you choose to review the survival signs and symbols, the more practice and experience students have with the signs, the more prepared, confidant, and independent they will be in the real world.
If you're looking for the perfect interactive book to introduce survival signs & symbols, check out Show Me a Sign!